Quick Answer Box
Most high-speed blenders (Vitamix, Ninja, Oster) can make nut butter if you go low and slow: medium speed, 3–5 minute intervals with 2-minute rests between bursts.
The key is patience and rest periods to prevent overheating. Masticating blenders (like the Tribest Slowstar) do it more efficiently, but any powerful blender can do it with the right technique.
Key Takeaways
✓ Medium speed is your friend — resist cranking to maximum (causes heat buildup)
✓ Rest breaks are essential — stop every 2–3 minutes, let the blade cool 90 seconds
✓ Dry roasted nuts work best — they release oils faster than raw nuts
✓ 3–5 minutes total time when using pauses (not one continuous blend)
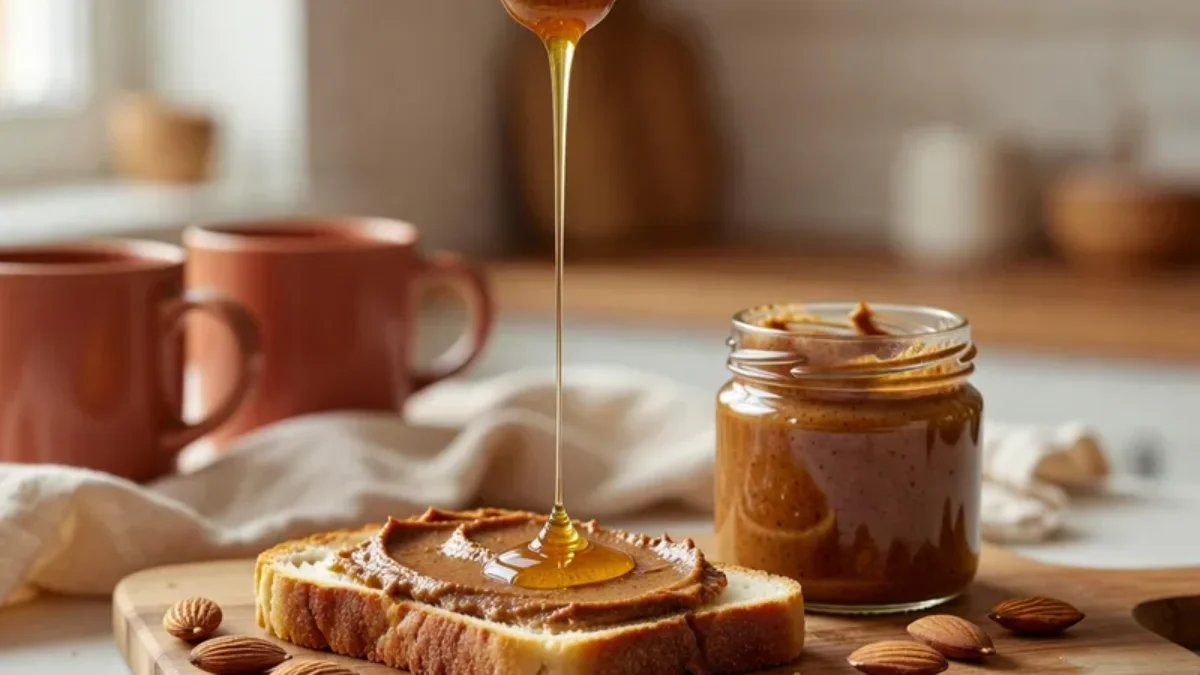
✓ Add a touch of honey or oil only if butter won’t budge after 5 minutes
Why Blenders Matter for Nut Butter
Homemade nut butter tastes better than store-bought and costs a fraction of the price ($0.80/lb vs. $3–$4/lb). But your blender’s design affects success.
High-speed blenders (Vitamix, Ninja): Create heat through friction. Too much speed = overheating = “burnt” nut butter.
Masticating blenders (Tribest, Green Power): Grind slowly without heat. Takes longer but perfect consistency.
Food processors: Too chunky; won’t reach creamy stage.
The Science: Why Heat Ruins Nut Butter
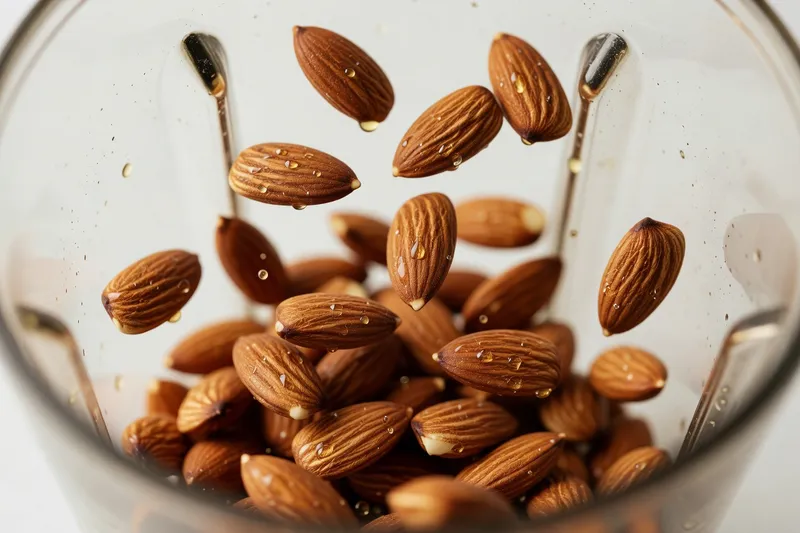
Nuts are 50–60% oil. When your blender blade spins fast, friction generates heat. As temperature rises, those oils break down:
- 120–130°F: Oils thin, butter starts flowing (good)
- 140°F+: Oils degrade, flavor becomes acrid, texture separates (bad)
- 150°F+: Nutty taste disappears, brownish color, separation likely
The solution: Medium speed + rest breaks keep temperature at 120–130°F where magic happens.
Step-by-Step: Blender Nut Butter Recipe
What You Need
- 2 cups raw or dry roasted nuts (almonds, cashews, peanuts, pecans—any work)
- High-speed blender (Vitamix, Ninja, Oster, Breville)
- Medium bowl or jar to catch spillover
- Spatula (silicone works best; won’t damage blade)
- Honey or neutral oil (optional, as backup)
The Process
Step 1: Start Dry (1 minute). Add 2 cups nuts to blender. Run on medium speed for exactly 1 minute. You’ll hear the blade slow—that’s the nuts releasing oils. Stop.
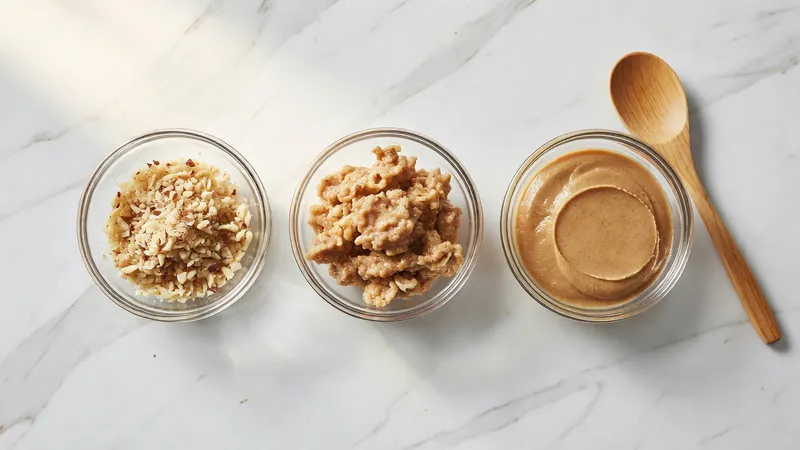
What it looks like: Finely chopped nut dust. Not creamy yet.
Step 2: First Rest (90 seconds). Let the blender sit. The blade is hot. Step away.
Step 3: Medium Blend (90 seconds) Run on medium speed for 90 seconds. Again, you’ll hear the sound change as oils blend. Stop.
What it looks like: Wet, chunky paste. Clumps stick to sides.
Step 4: Scrape & Rest (2 minutes) Use your spatula to scrape down the sides with the blender off. Return to sitting.
Step 5: Low Blend (90 seconds) Run on low to medium for 90 seconds. The butter will suddenly flow. (This “sudden” moment is the oils fully combining.)
What it looks like: Creamy, pourable consistency.
Step 6: Final Blend (30–60 seconds). One more pulse on medium to fully incorporate any chunks.
Troubleshooting
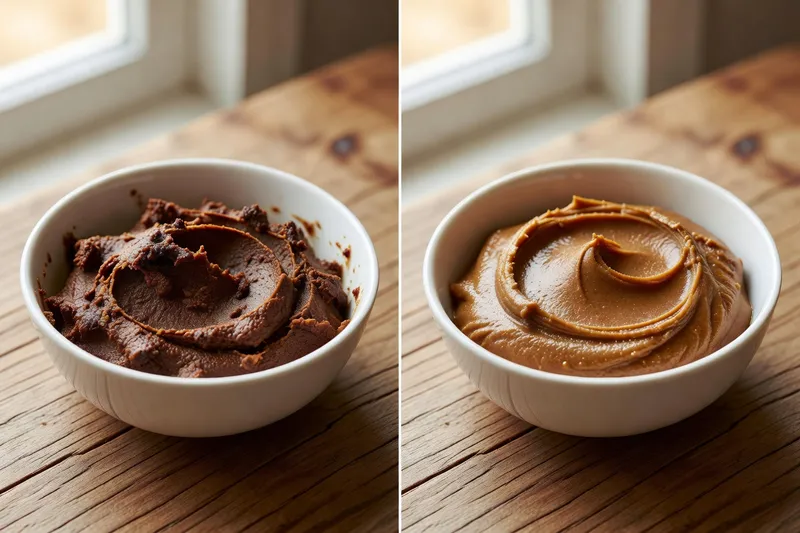
Problem: Nut butter is grainy and thick after 5 minutes.
Fix: Add 1 tablespoon of neutral oil (almond, coconut, or sunflower). Blend for 30 seconds more.
Problem: It smells burnt or tastes bitter.
Fix: You overheated. Next time, use lower speed and longer rest breaks. Throw this batch away—it’s not salvageable.
Problem: Butter is oily and separating at the top.
Fix: This happens with raw nuts (which have more natural oils). Stir it back in or store upside down in the fridge to recombine during cooling.
Problem: My blender can’t handle it; blade slows too much.
Fix: Your blender may be under-powered. True high-speed blenders (1000W+) handle nut butter easily. Budget blenders struggle. Consider a food processor or masticating blender.
Pro Tips
Roasted vs. Raw: Dry-roasted nuts reach the butter stage 30 seconds faster (because oils are already partially released). Raw nuts need more blending time—the good news is there’s less “burnt” risk because oils release more slowly.
Temperature Check: If your blender feels warm to the touch after step 3, extend your rest break to 2 minutes. If it’s hot, stop entirely and wait 3 minutes.
Batch Size: 2 cups is optimal. Larger batches (3+ cups) generate more heat. Smaller batches (1 cup) can slip around the blade without proper friction.
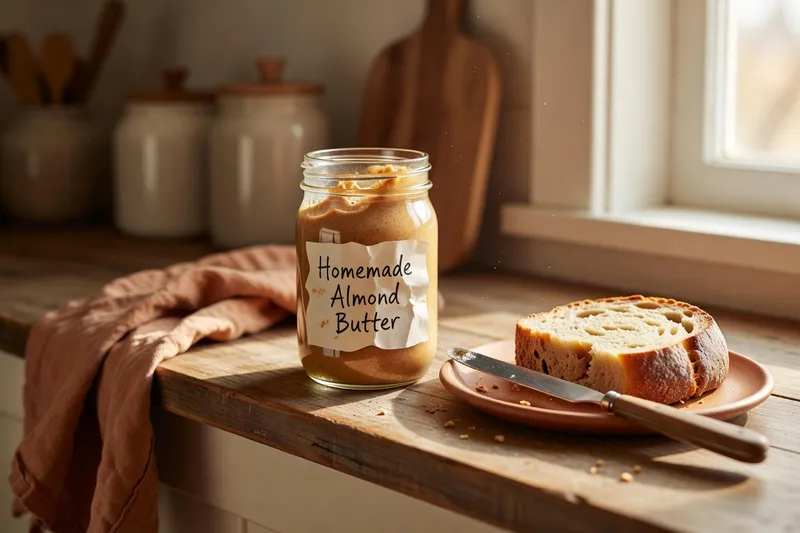
Storage: Homemade nut butter keeps 2–3 weeks at room temperature in an airtight jar. Refrigerated, it lasts 1 month. Freezer storage: 3 months (but it gets very hard to scoop).
Mix-Ins (After the Butter Is Made)
Once your nut butter reaches creamy stage (Step 5), stop the blender and fold in:
- 1 tbsp honey (sweeter)
- 1 tsp vanilla extract (flavor boost)
- Pinch of sea salt (balances sweetness)
- 1 tbsp cocoa powder (chocolate almond butter)
Don’t blend these in—fold with a spoon. Re-blending adds unnecessary heat.
Bottom Line
Making nut butter at home is simple: use medium speed for 3–5 minutes total, with rest breaks between pulses. If your blender has it, use a “nut butter” preset (some Vitamix and Ninja models do). If not, medium speed + patience gets you there. Your first batch might be grainy—that’s okay. By batch three, you’ll nail the timing and texture.
How to Make Nut Butter in a Blender: FAQ
Can I use a food processor instead?
Food processors are not ideal. They chop rather than grind, so nut butter stays gritty. Blenders work better because their blade design repeatedly forces ingredients into the blade’s path.
How much nut butter does 2 cups of nuts make?
Approximately 1.5 cups. Nuts compress as oils release.
Is store-bought nut butter easier?
Yes—easier, but pricier and less fresh. Homemade is worth the 5-minute effort.
Can I make peanut butter the same way?
A: Yes. Peanut butter is typically faster (3–4 minutes) because peanuts are higher in natural oils than tree nuts.
Do I need a special “nut butter” blender?
No, but a blender with a “pulse” function and medium-speed option helps. Budget blenders with only high-speed settings are tougher to control.
Can I add salt during blending?
Salt should be added after blending is complete. Adding it during blending can cause the nuts to slip around the blade without proper friction.
Recommended Reading
- Best Blenders for Smoothies and Juices in 2026
- Tribest Slowstar Blender Review: Cold Pressing for Juice & Nut Butters ← masticating alternative
- How to Choose a Blender: Complete 2026 Blender Buying Guide
- How to Clean Your Blender: Easy Maintenance Tips
Last Updated: July 2026